1. 本地运行
text
npm install -g n8n
n8n start2. 如何安装节点
https://docs.n8n.io/integrations/community-nodes/installation/
通过命令行安装npm package
https://docs.n8n.io/integrations/community-nodes/installation/manual-install/
打开n8n的nodes目录
windows:
C:\Users\pc.n8n\nodes
text
npm i n8n-nodes-nodeName重启n8n
3. 自制n8n节点
package name starts with n8n-nodes-
- Include
n8n-community-node-packagein your package keywords.
文档:https://docs.n8n.io/integrations/creating-nodes/overview/
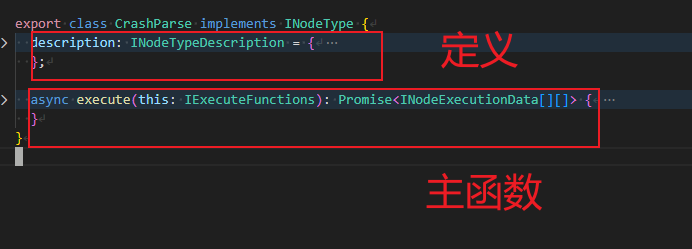
3.1 Node的文件结构
https://docs.n8n.io/integrations/creating-nodes/build/reference/node-base-files/structure/
一个node的文件结构
4. 如何断点调试node中的代码
启动时,要让node 监听调试端口
yaml
set NODE_OPTIONS=--inspect=9229
n8n start检查 是否监听成功
yaml
netstat -ano | findstr :9229Vscode中增加调试配置
json
{
  "version": "0.2.0",
  "configurations": [
    {
      "name": "Attach n8n (9229)",
      "type": "node",
      "request": "attach",
      "port": 9229,
      "restart": true,
      "skipFiles": ["<node_internals>/**"]
    }
  ]
}5. 注意事项
5.1 写文件异常
如果写需要写文件到本地目录,需要设置下面这个环境变量
yaml
set N8N_RESTRICT_FILE_ACCESS_TO="D:\downloads"如果是docker
yaml
environment:
N8N_RESTRICT_FILE_ACCESS_TO: "/shared;/home/node/.n8n-files"否则写文件会提示
yaml
The file "D:\downloads\douyin_1769760258699.mp4" is not writable.