1. Worker
worker可以让你利用cloudflare的服务器资源。和github action类似,但是比github action更灵活,因为他可以运行javascript和python.
https://developers.cloudflare.com/workers/get-started/guide/
1.1 通过命令行新建worker
1.1.1 新建
yaml
npm create cloudflare@latest -- my-first-worker1.1.2 运行
yaml
npm run dev1.1.3 部署
yaml
npm run deploy但每次deploy都报错
Fetch error。从github issue上看,应该是cloudflare 被国内墙了。
所以无法通过命令行使用。
2. Tunnel
2.1 Docker-compose
yaml
services:
  app:
    stdin_open: true
    network_mode: host  # 很重要,需要能访问宿主网络
    tty: true
    image: cloudflare/cloudflared:latest
    restart: unless-stopped
    command: tunnel --no-autoupdate run
    environment:
- TUNNEL_TOKEN=${TUNNEL_TOKEN}加一个环境变量
.evn
yaml
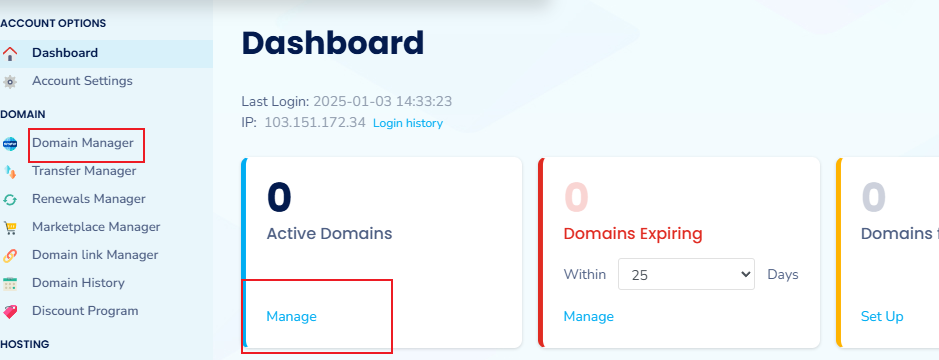
TUNNEL_TOKEN=3. 转移域名转到clouadflare
3.1 添加站点
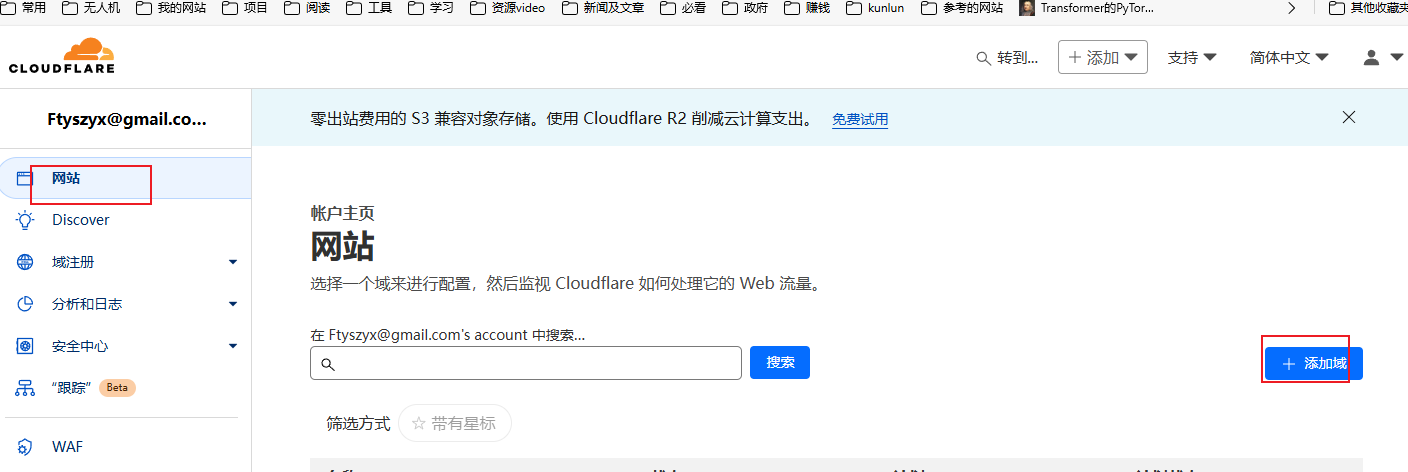
选免费
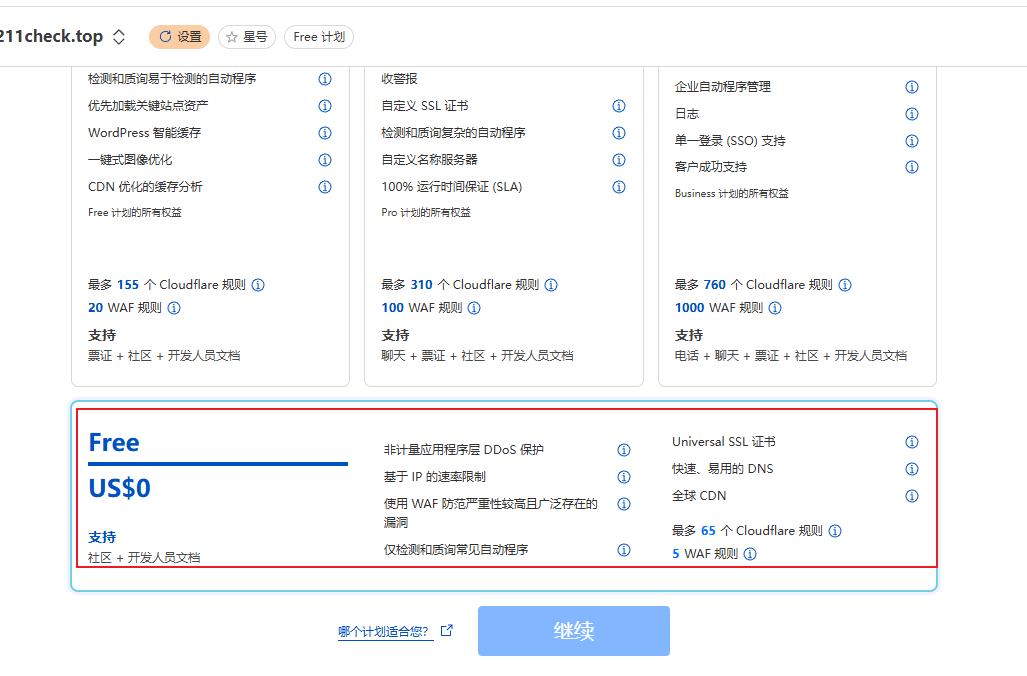
下一步
3.2 更改名称服务器
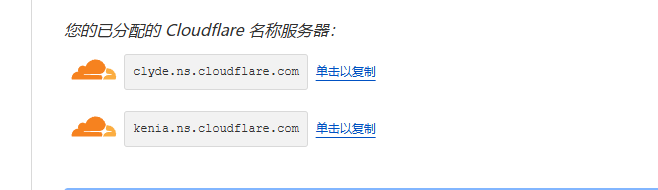
加到买域名的地方
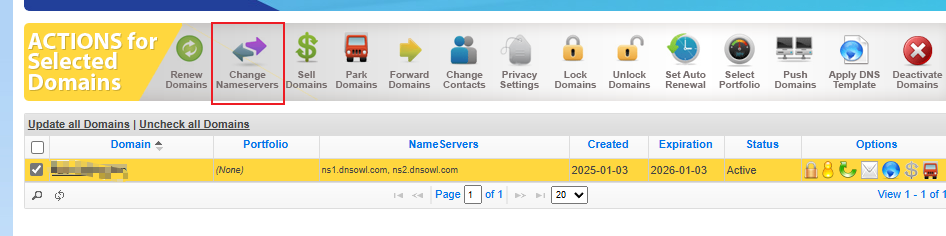
删除原来的三条,填上cloudfalre的两条
点保存
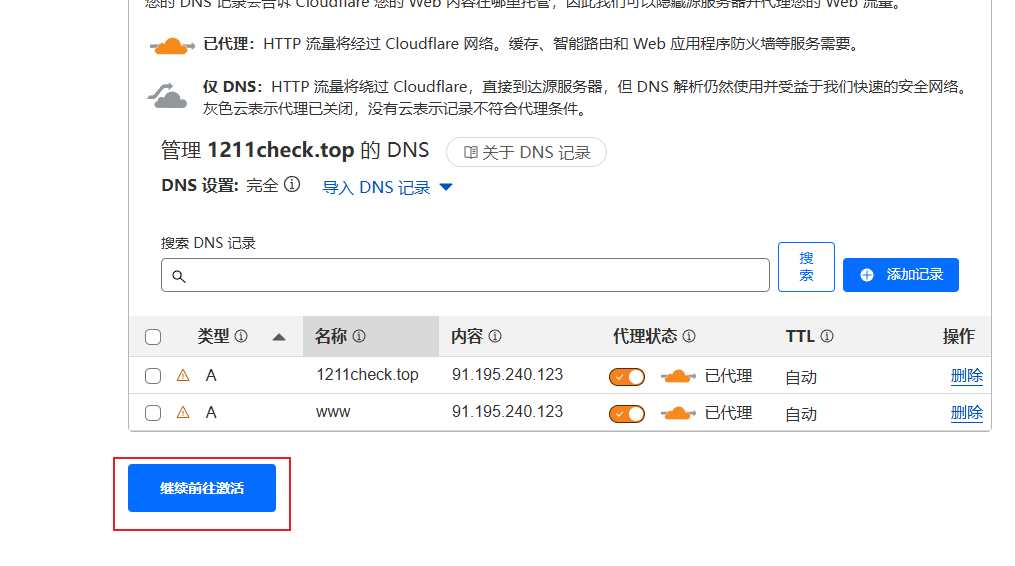
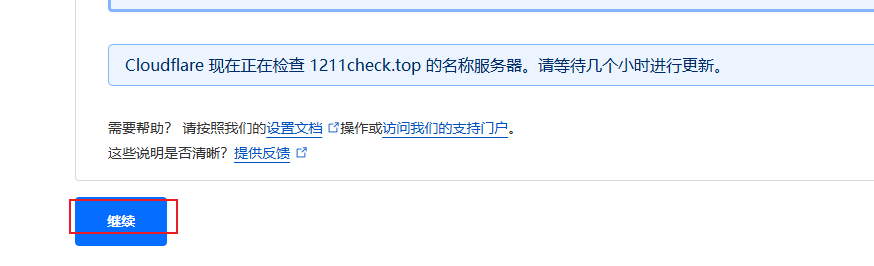
3.3 回cloudfalre检查

再继续
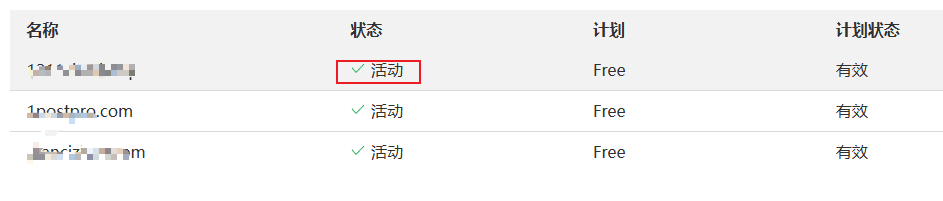
3.4 网站添加成功
4. 如何指定worker出口地址
待实践
https://nyac.at/posts/cloudflare-workers-force-region
5. 做图库
6. 优先域名(有点复杂,还是不要搞了)
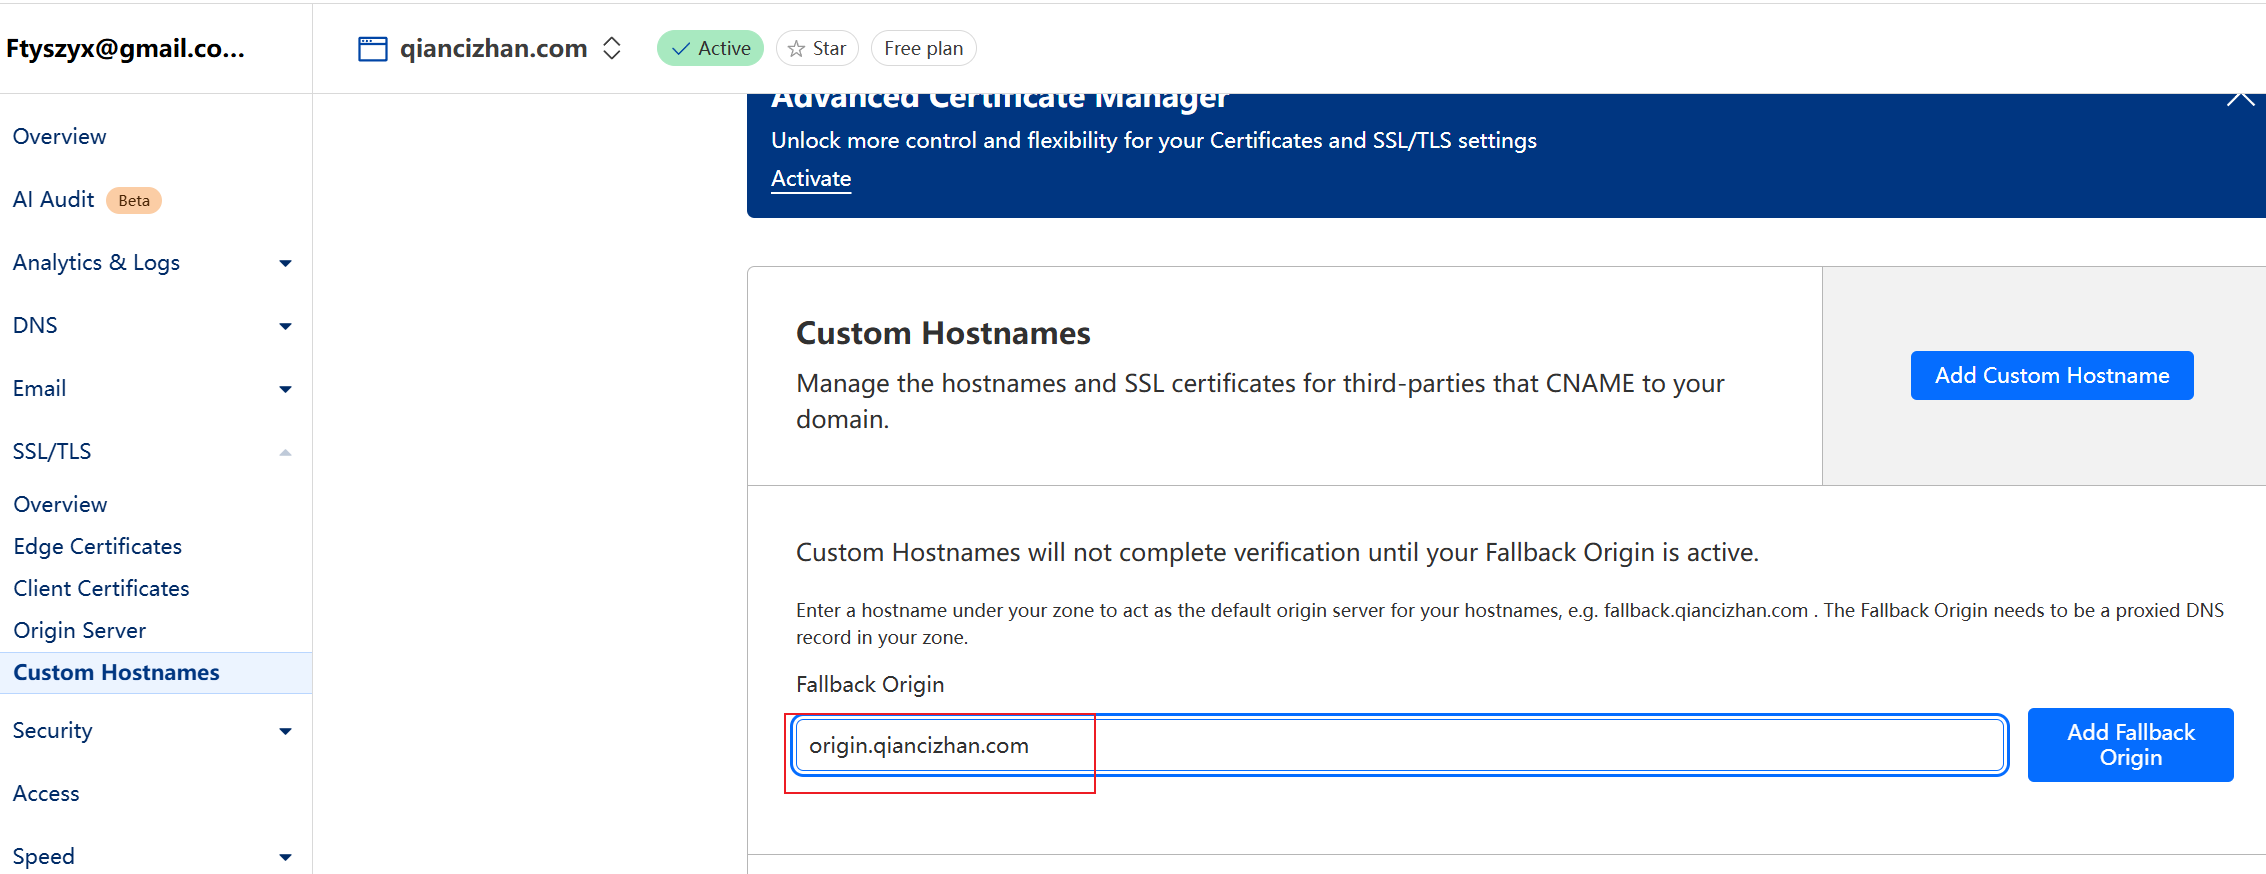
6.1 添加回退源名
将这个域名,回退到你的服务器Ip
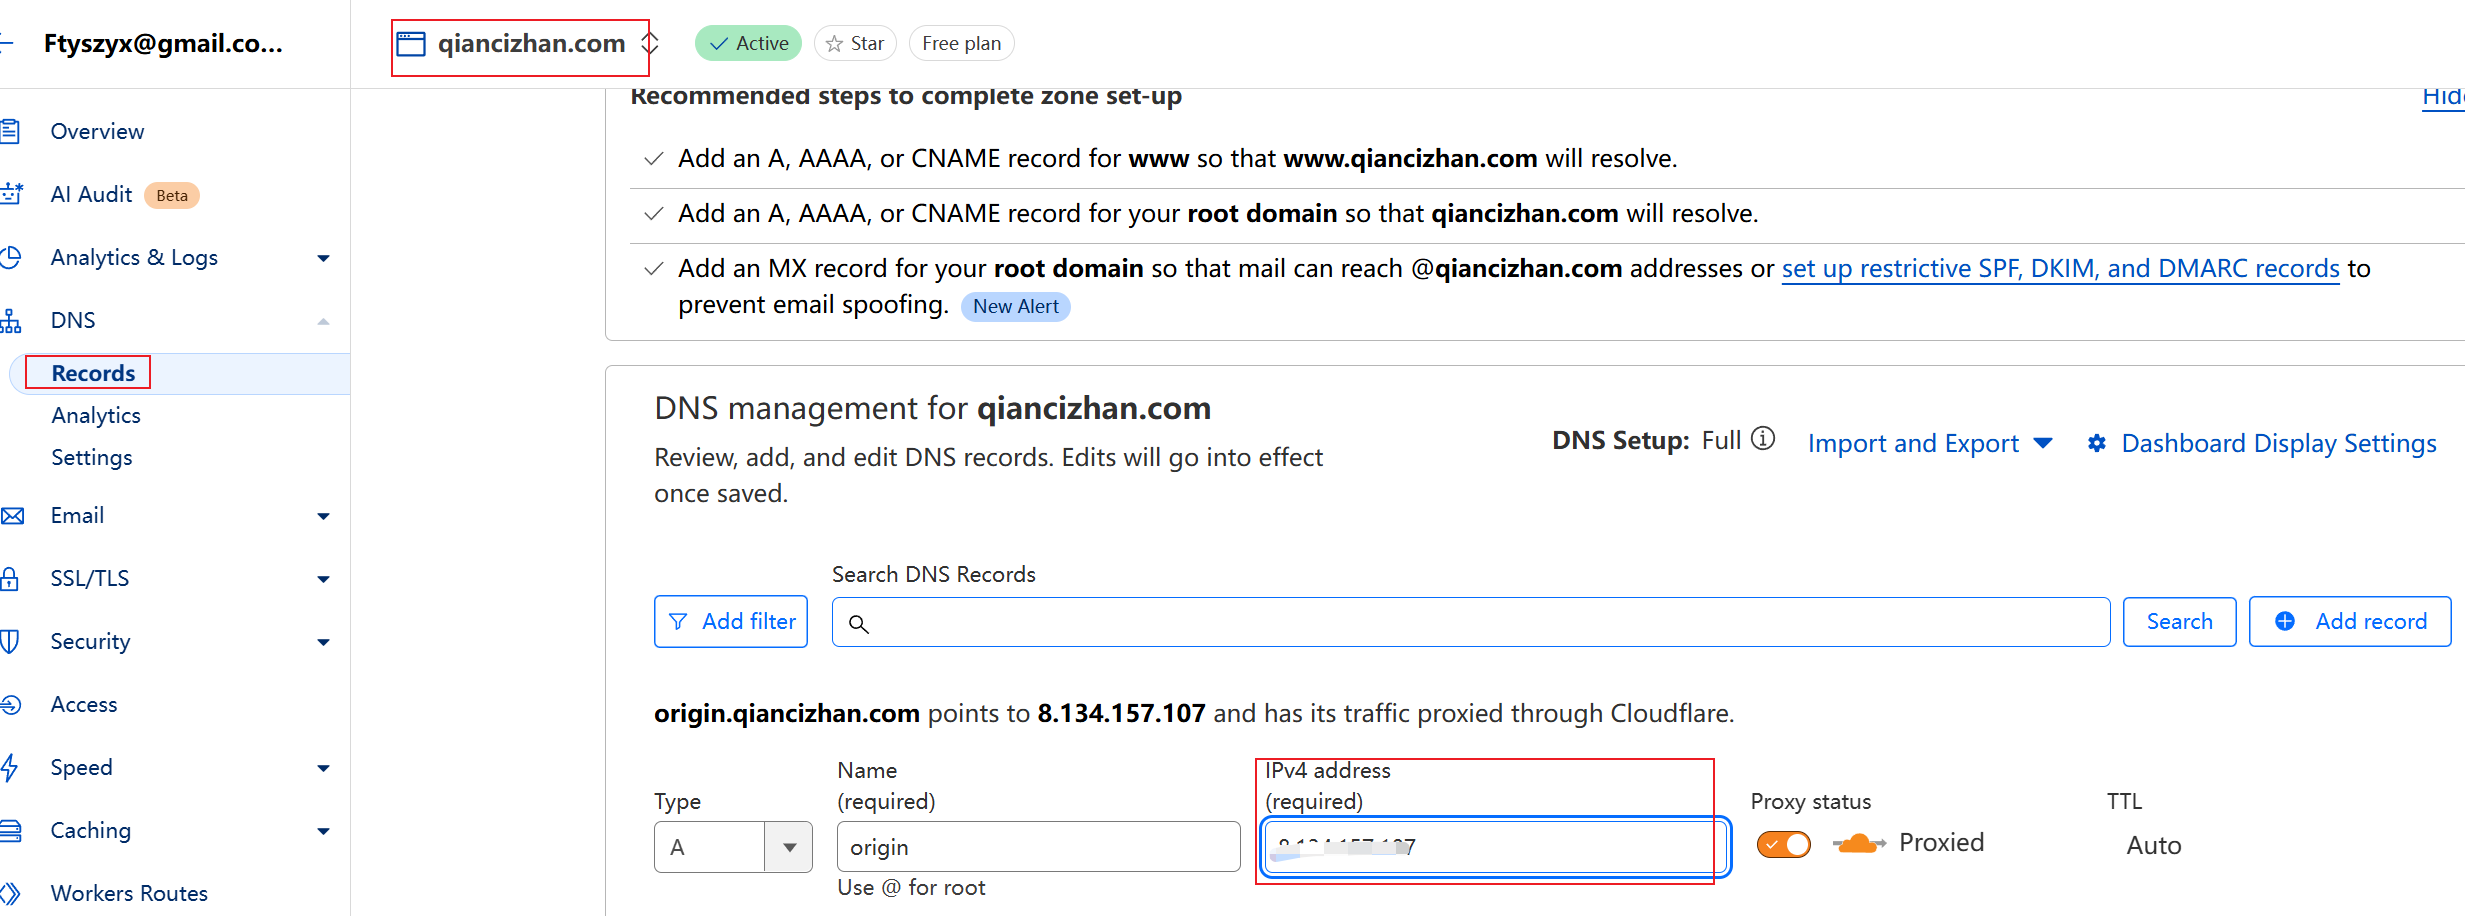
添加回溯源
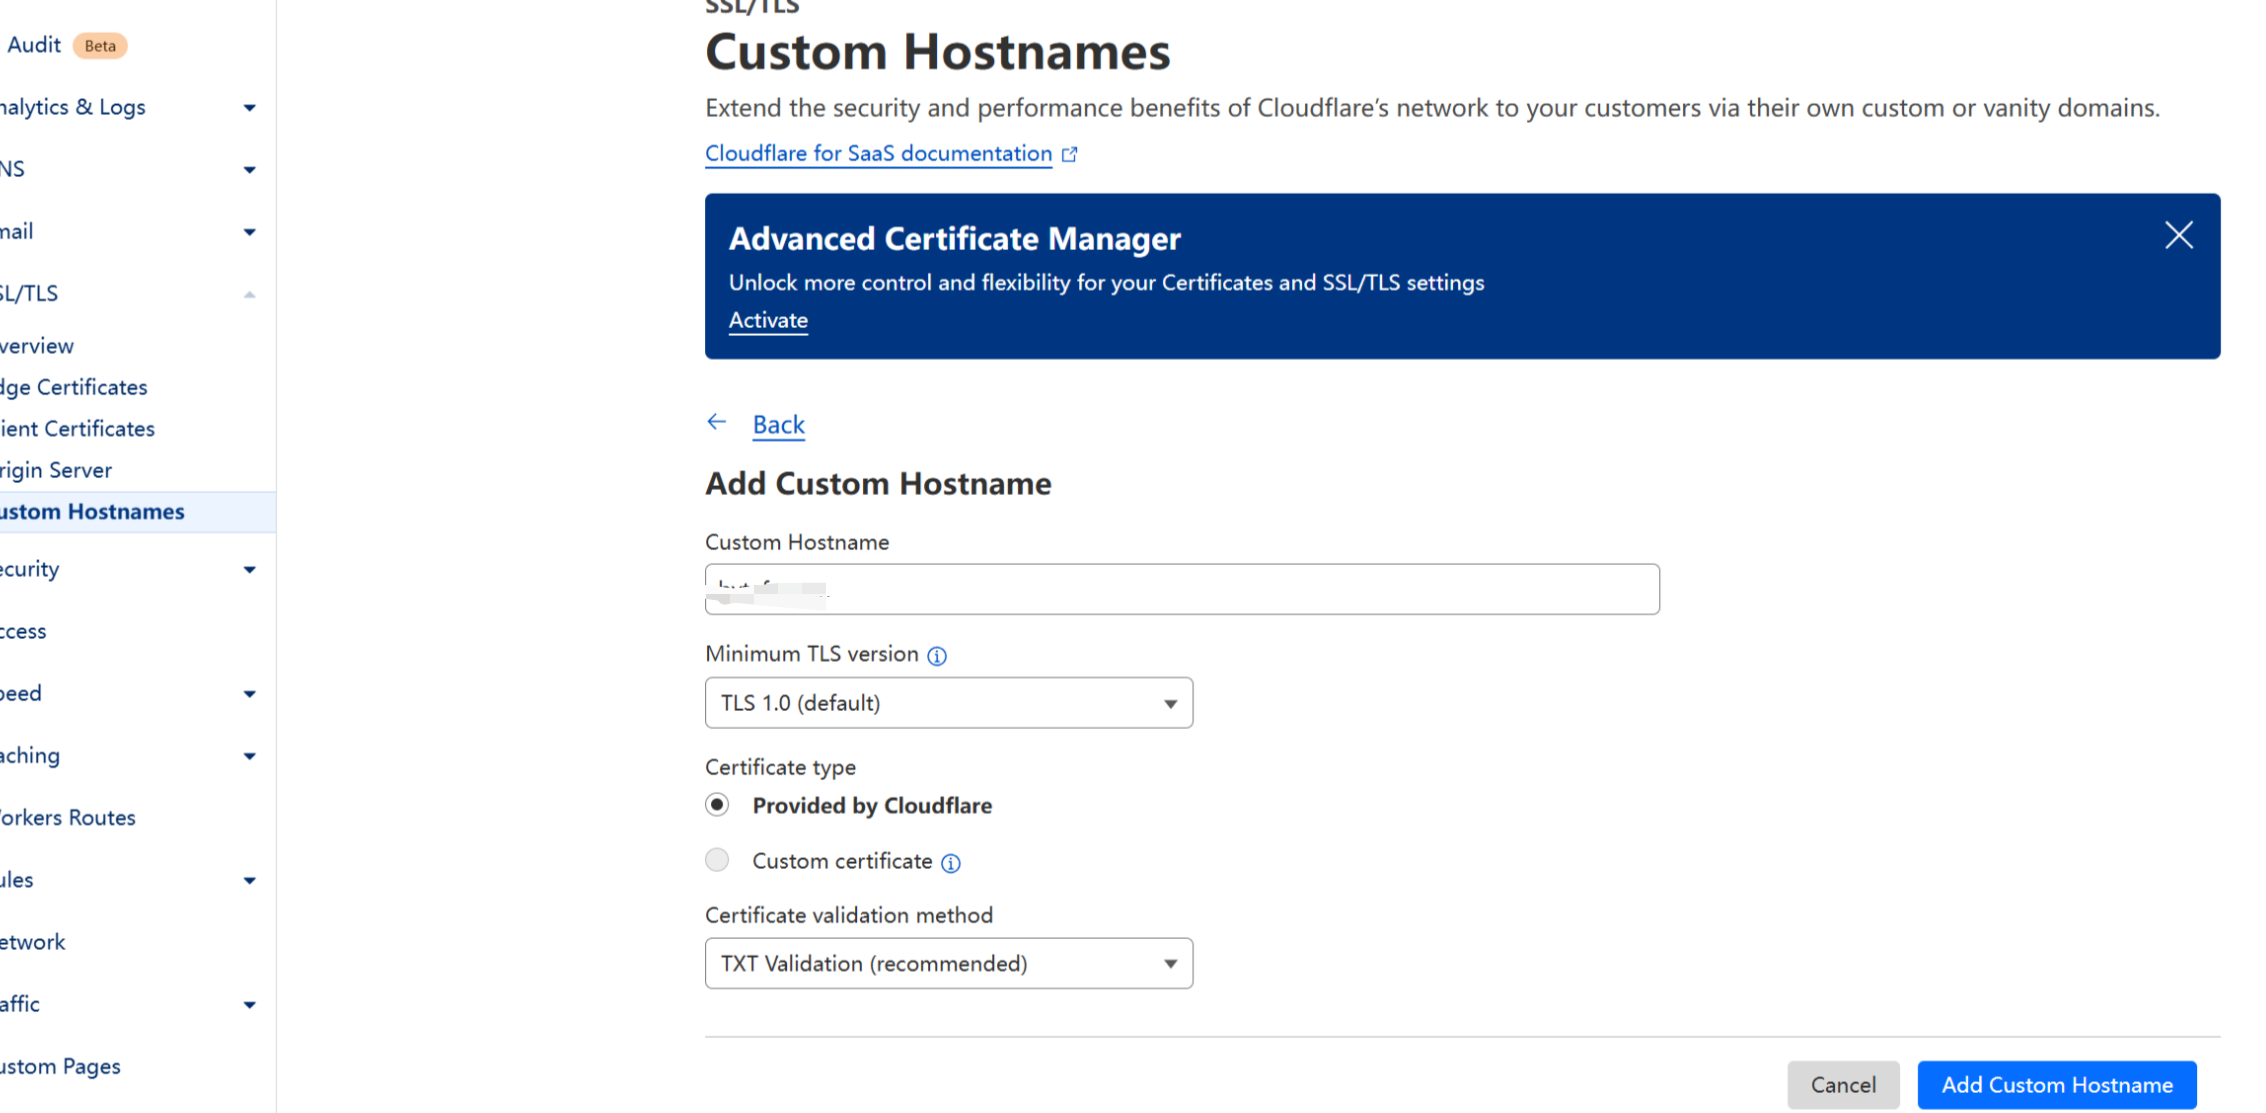
添加主机名

有错误,点开
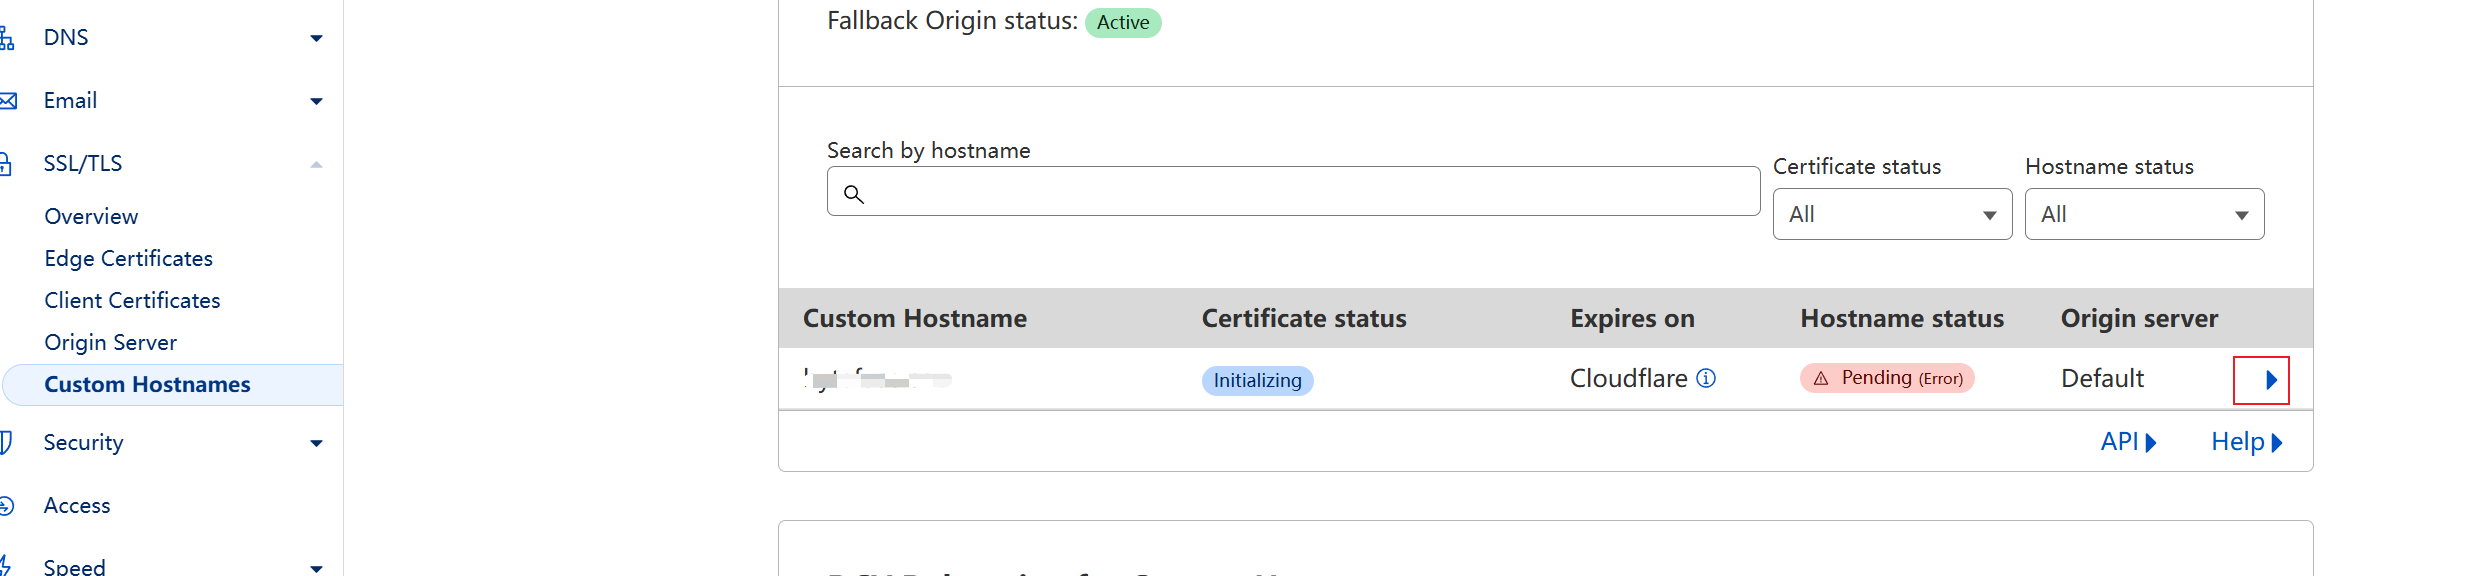
添加域名所有权
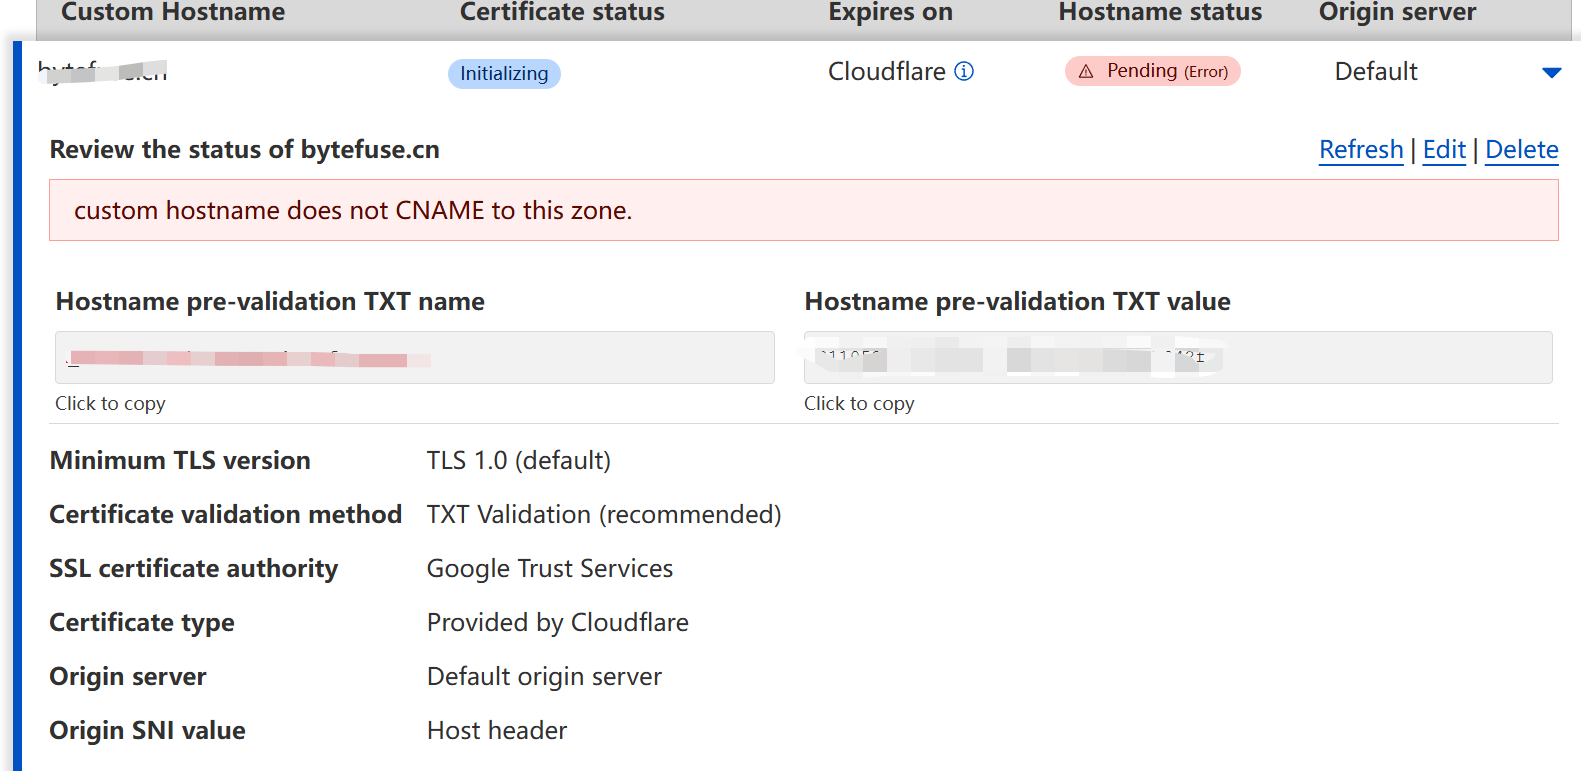
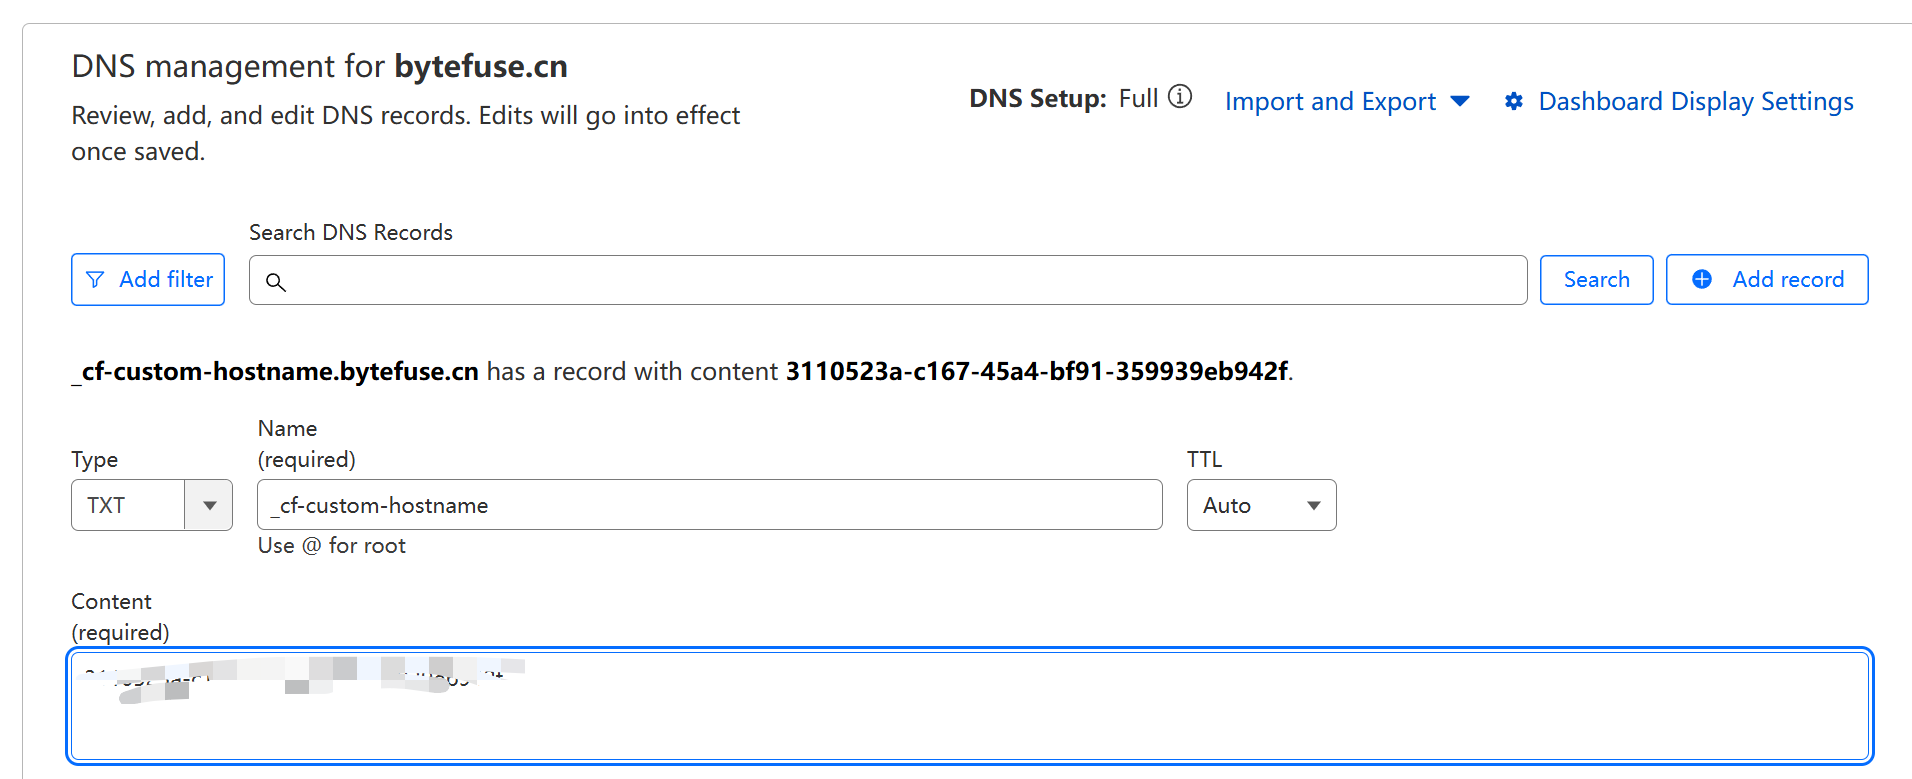
成功了

6.2 添加优选
可以参考:
https://www.wetest.vip/page/cloudflare/cname.html
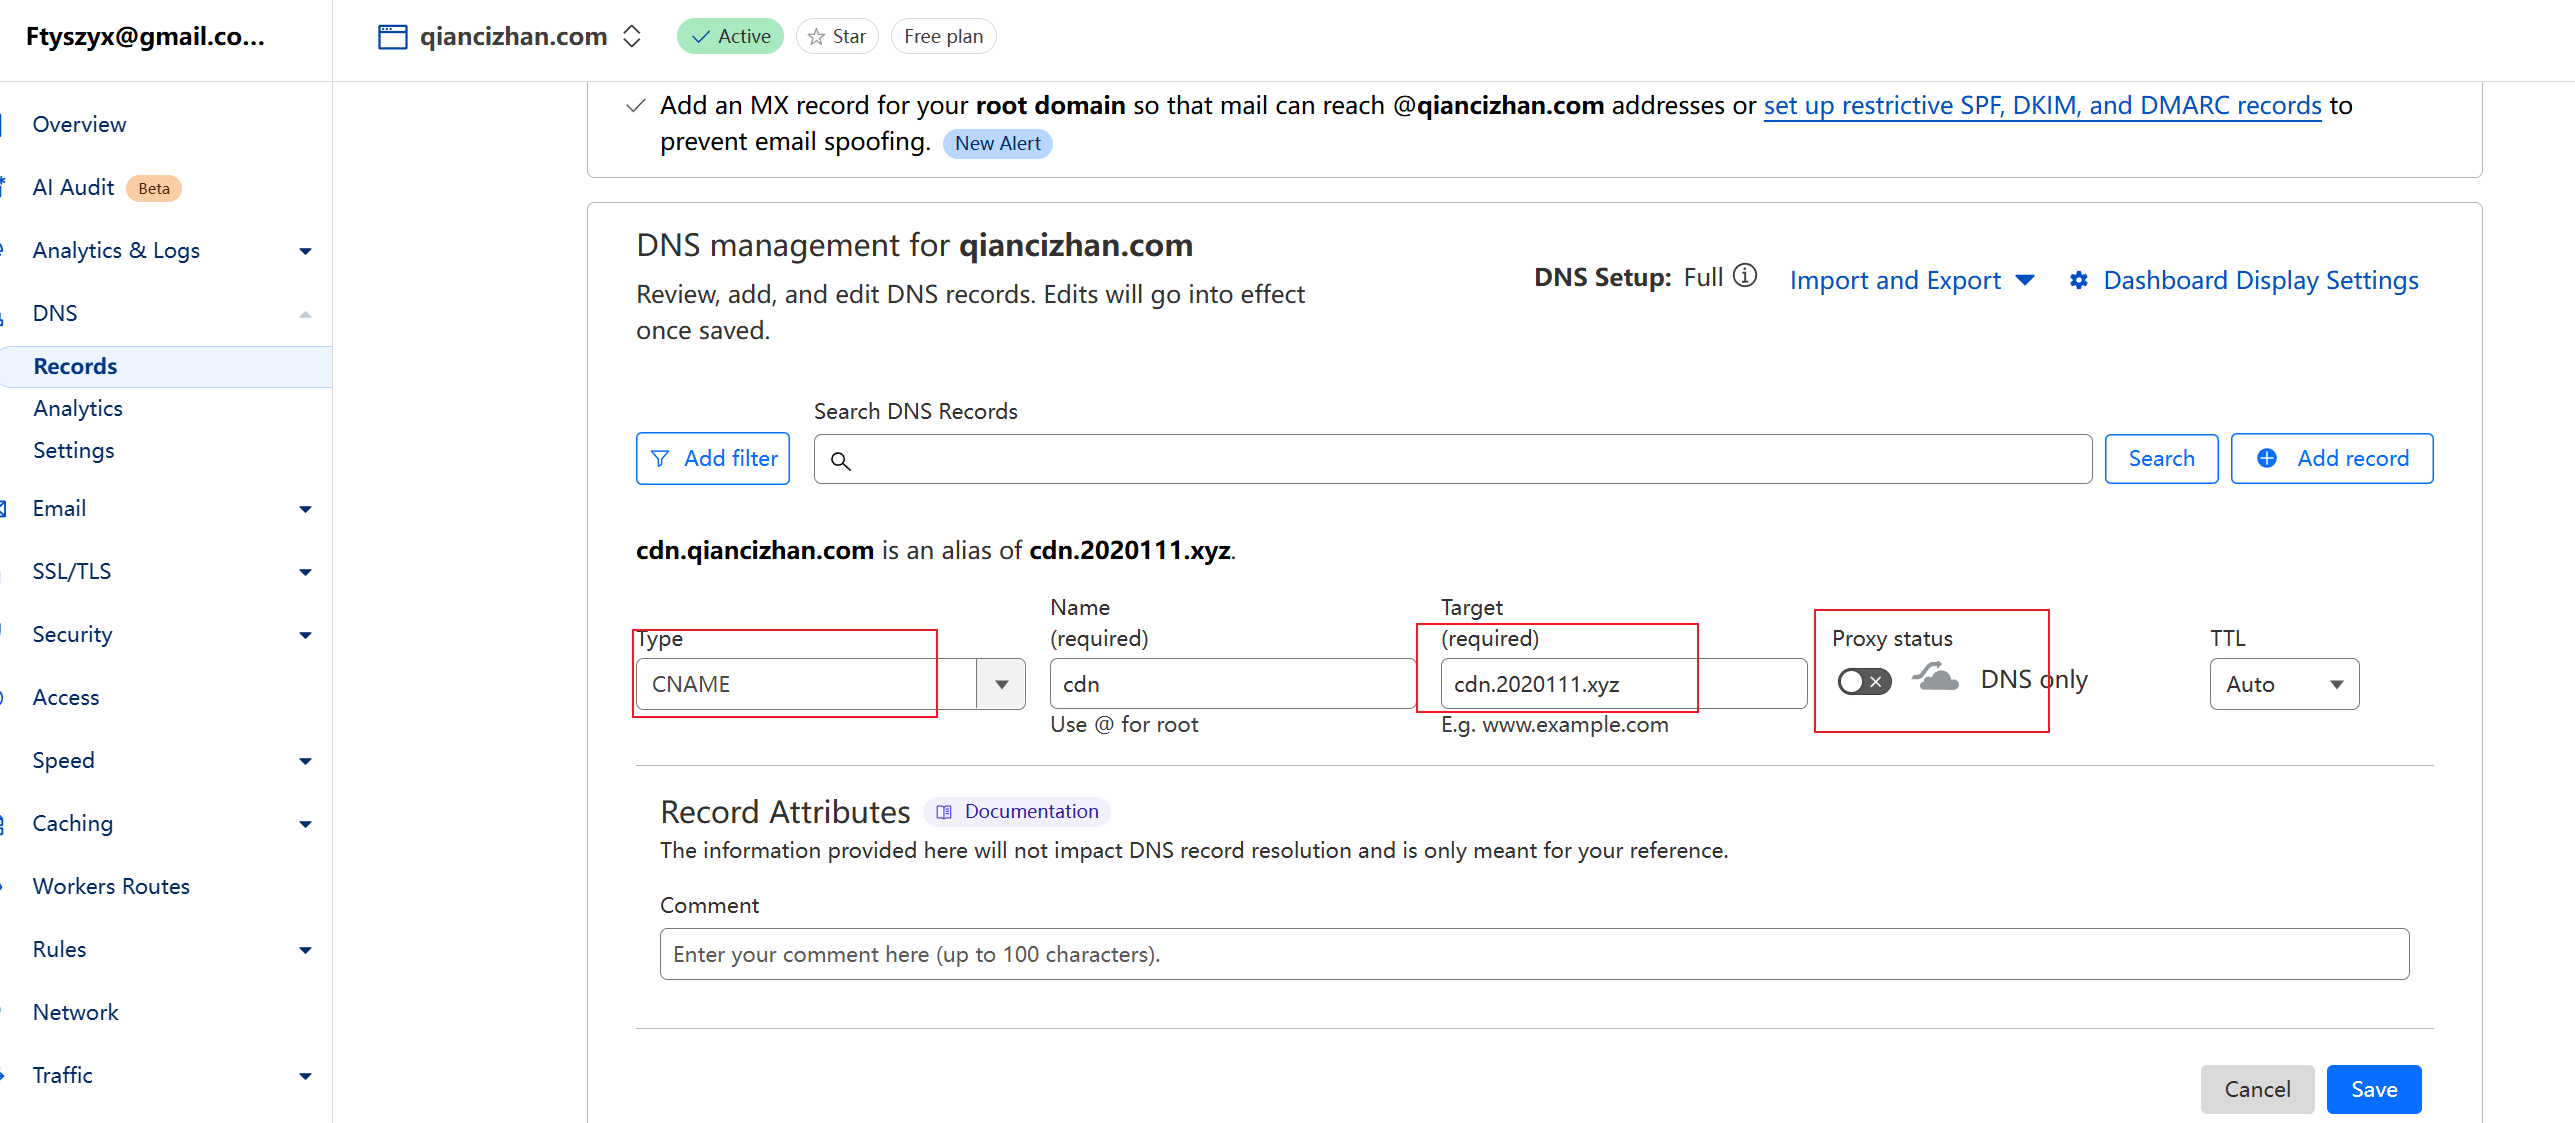
将网站cname到你配好的cdn
